
Ask an Artist is a one stop, online destination where we can answer all your questions, giving you that in-store, personalised experience from the comfort and ease of your home.
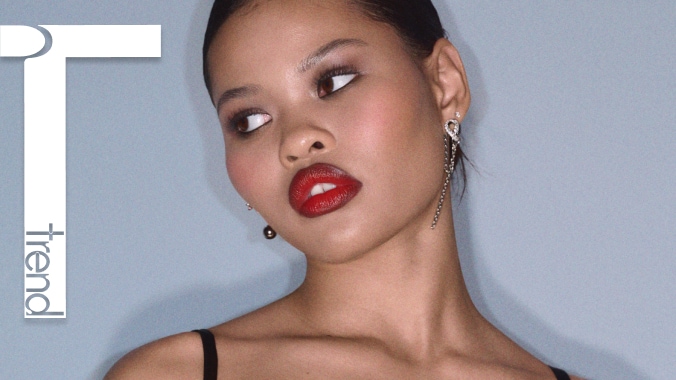
How do you do brown ombre lips?
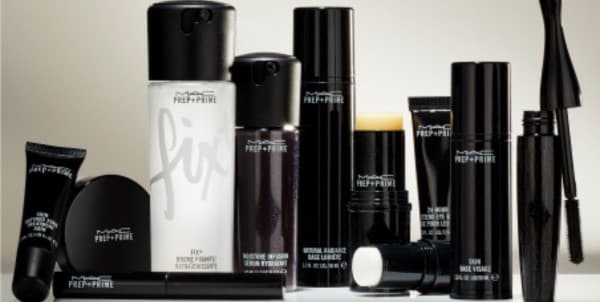
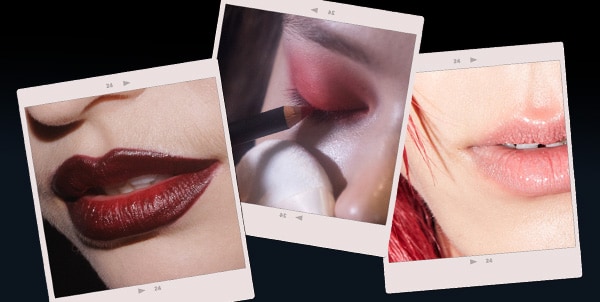
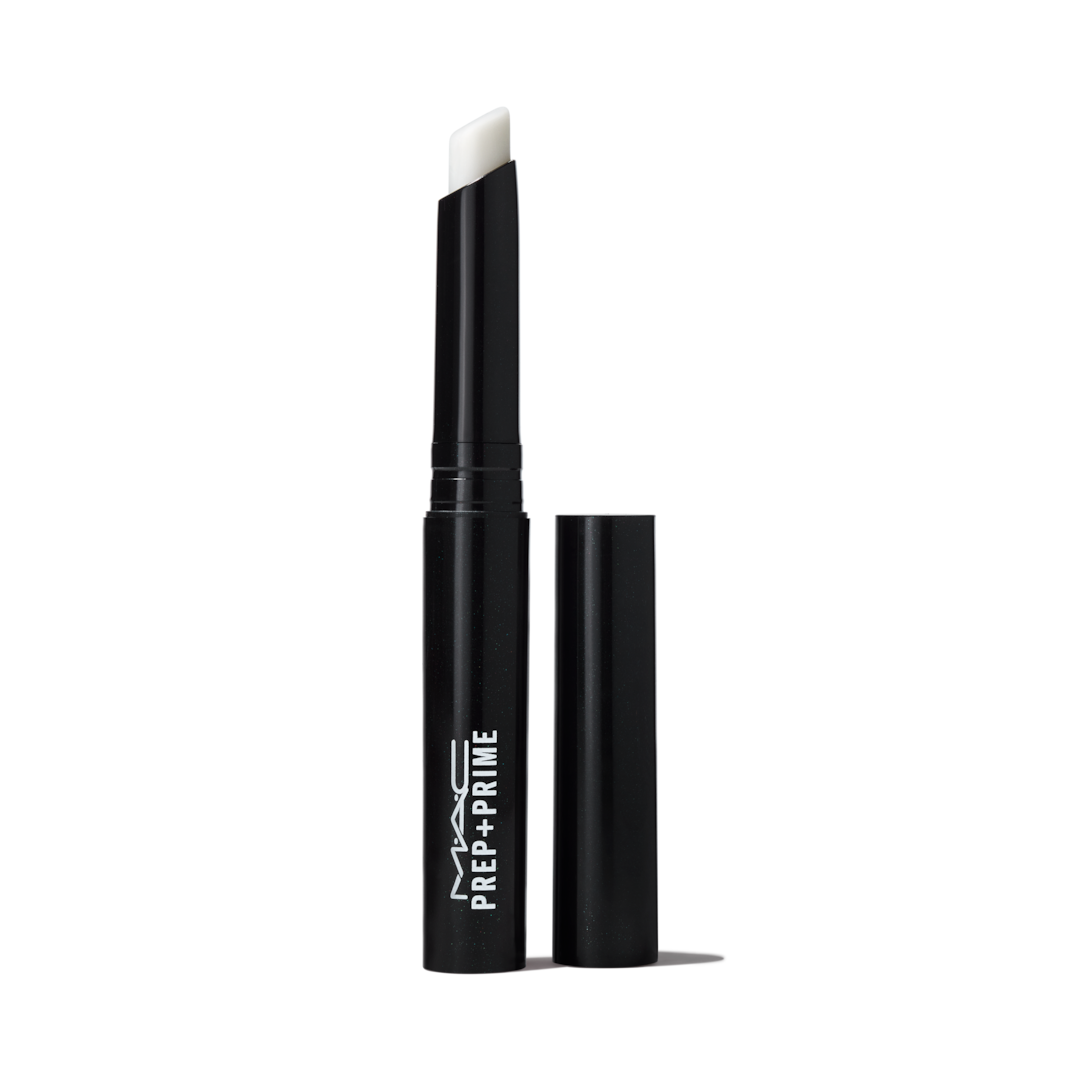
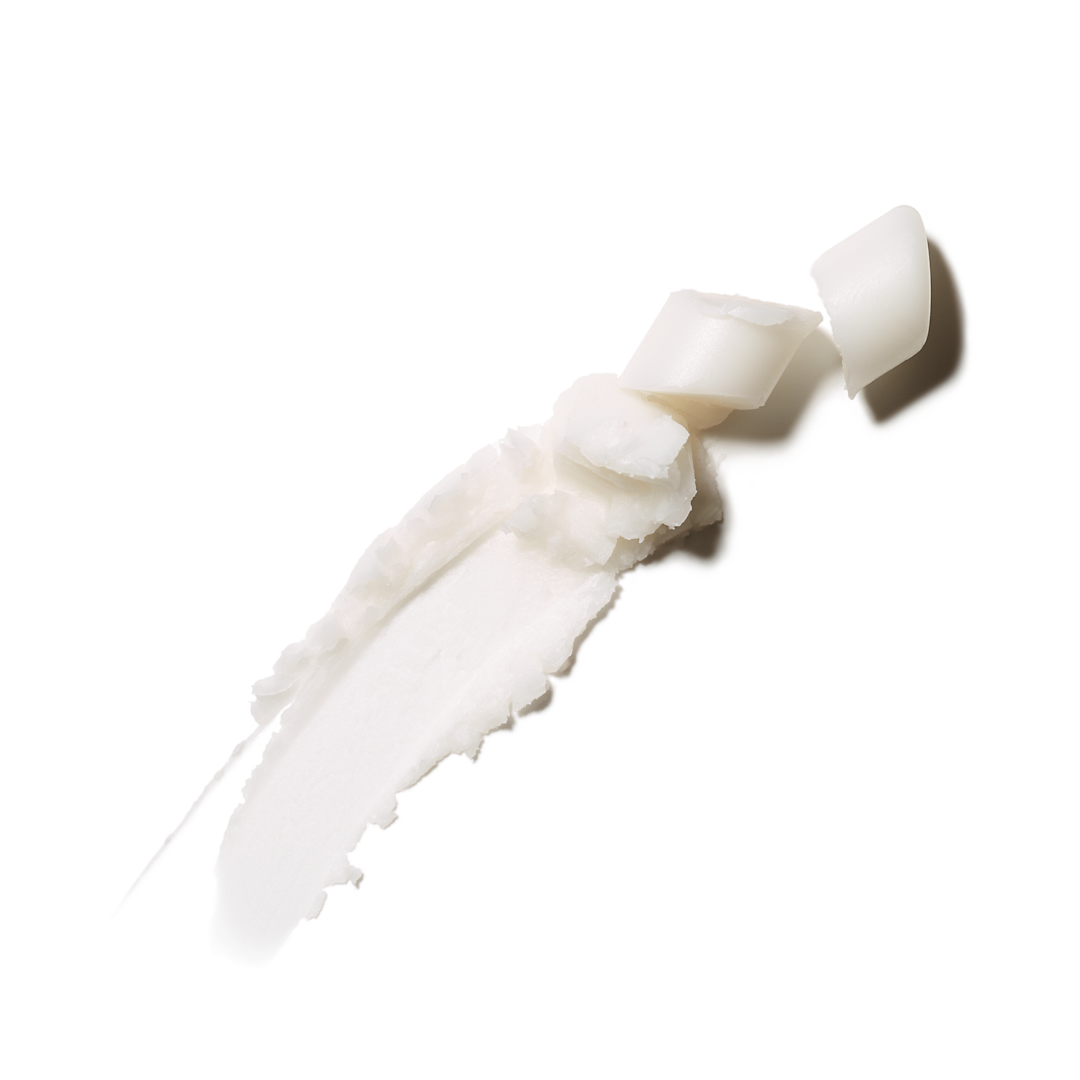
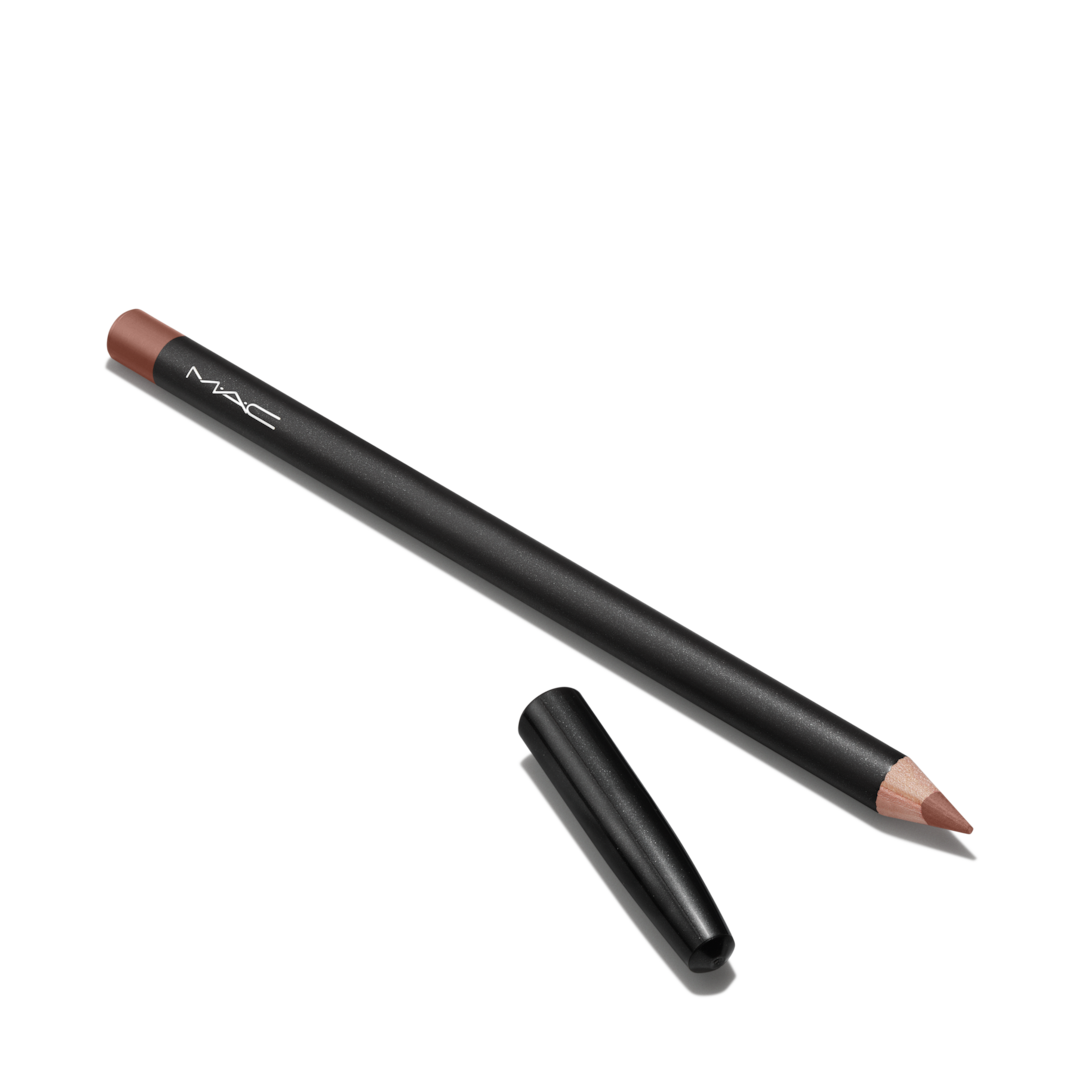
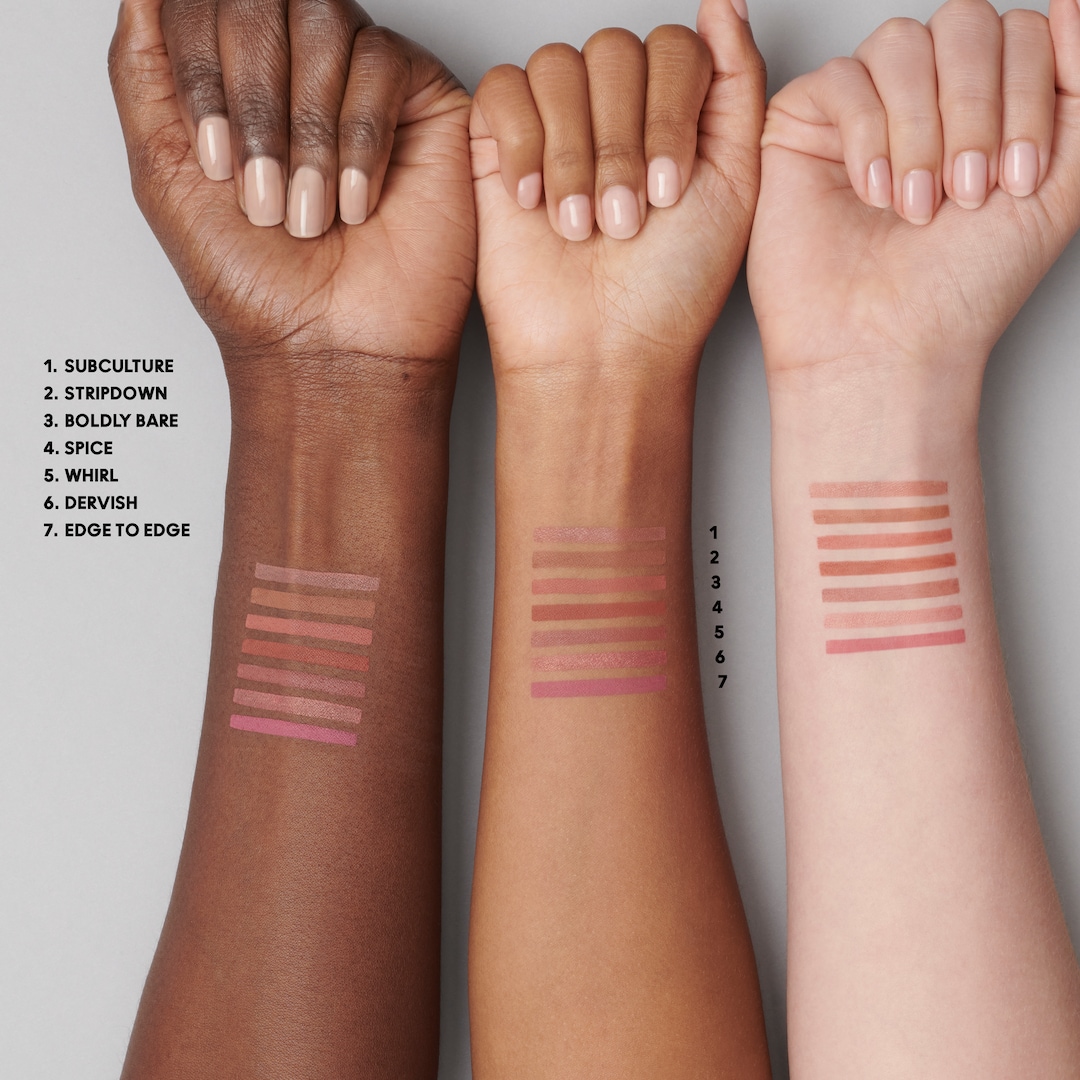
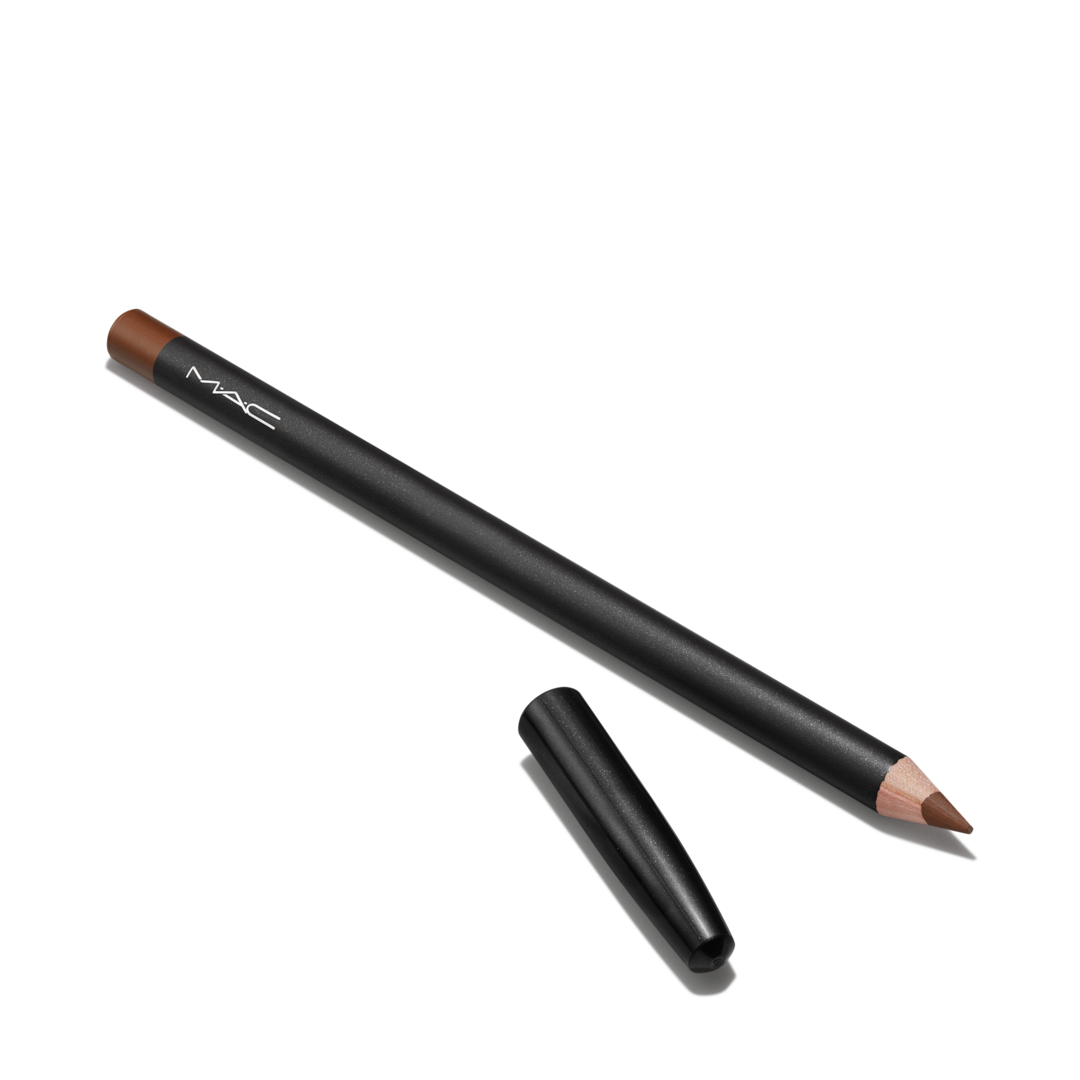
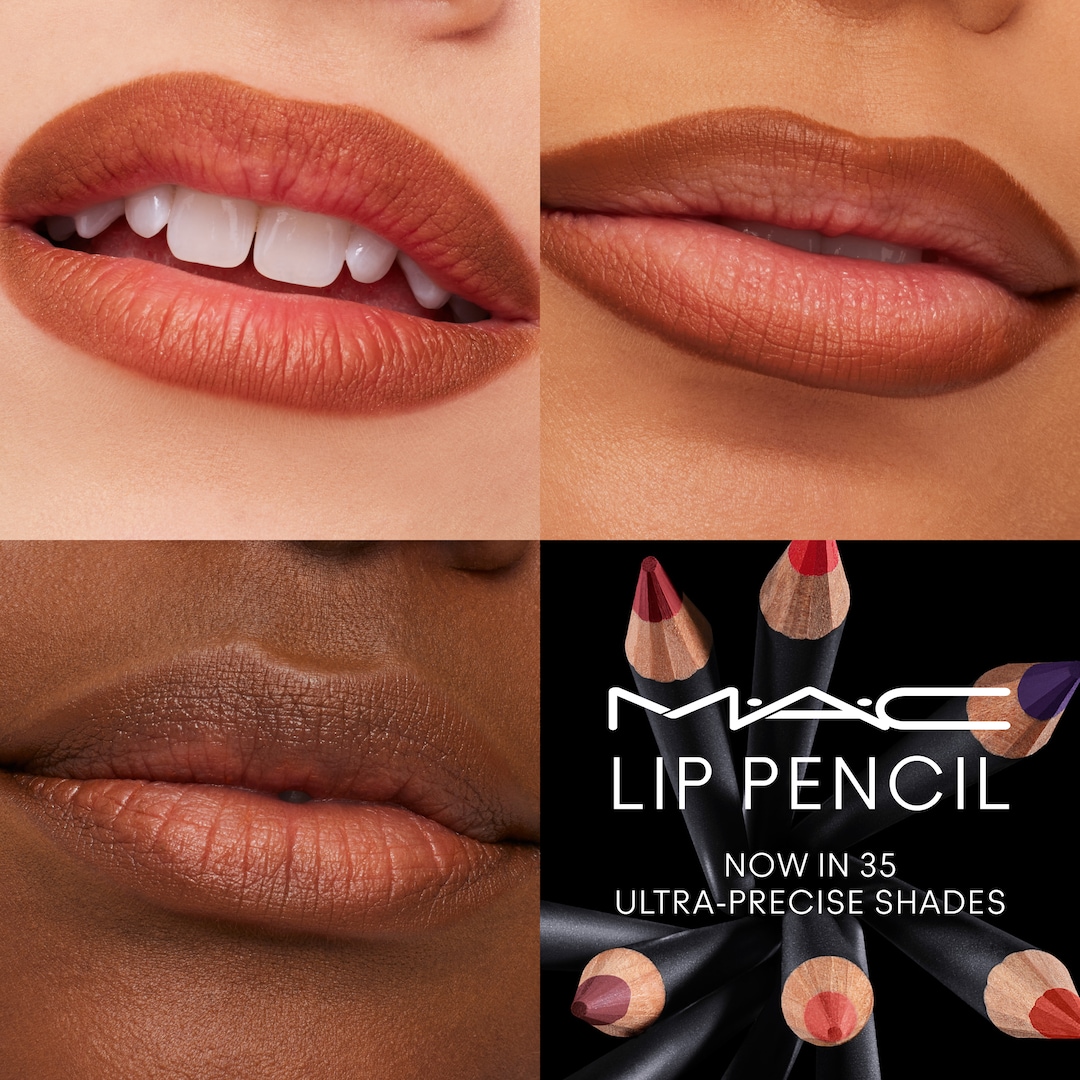
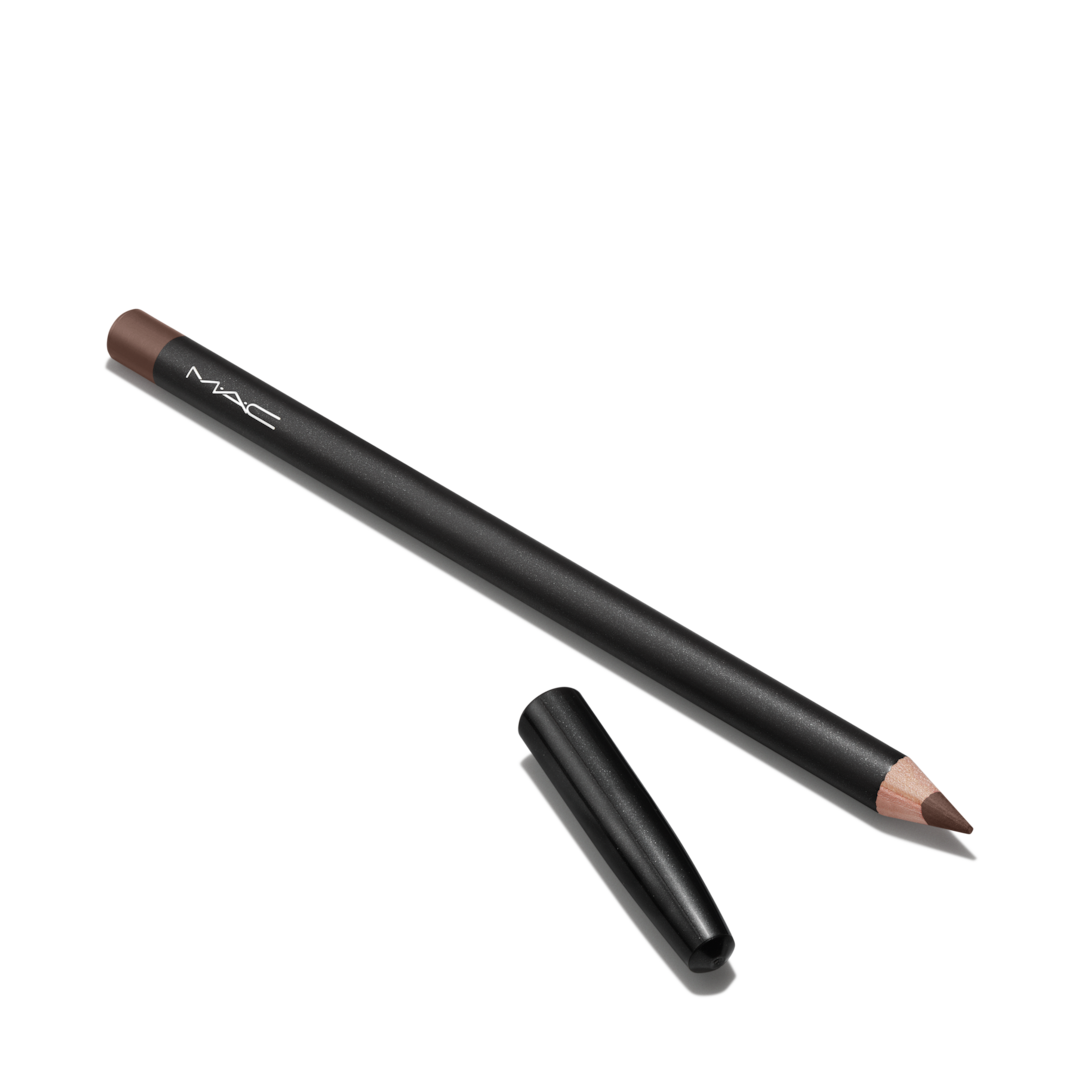
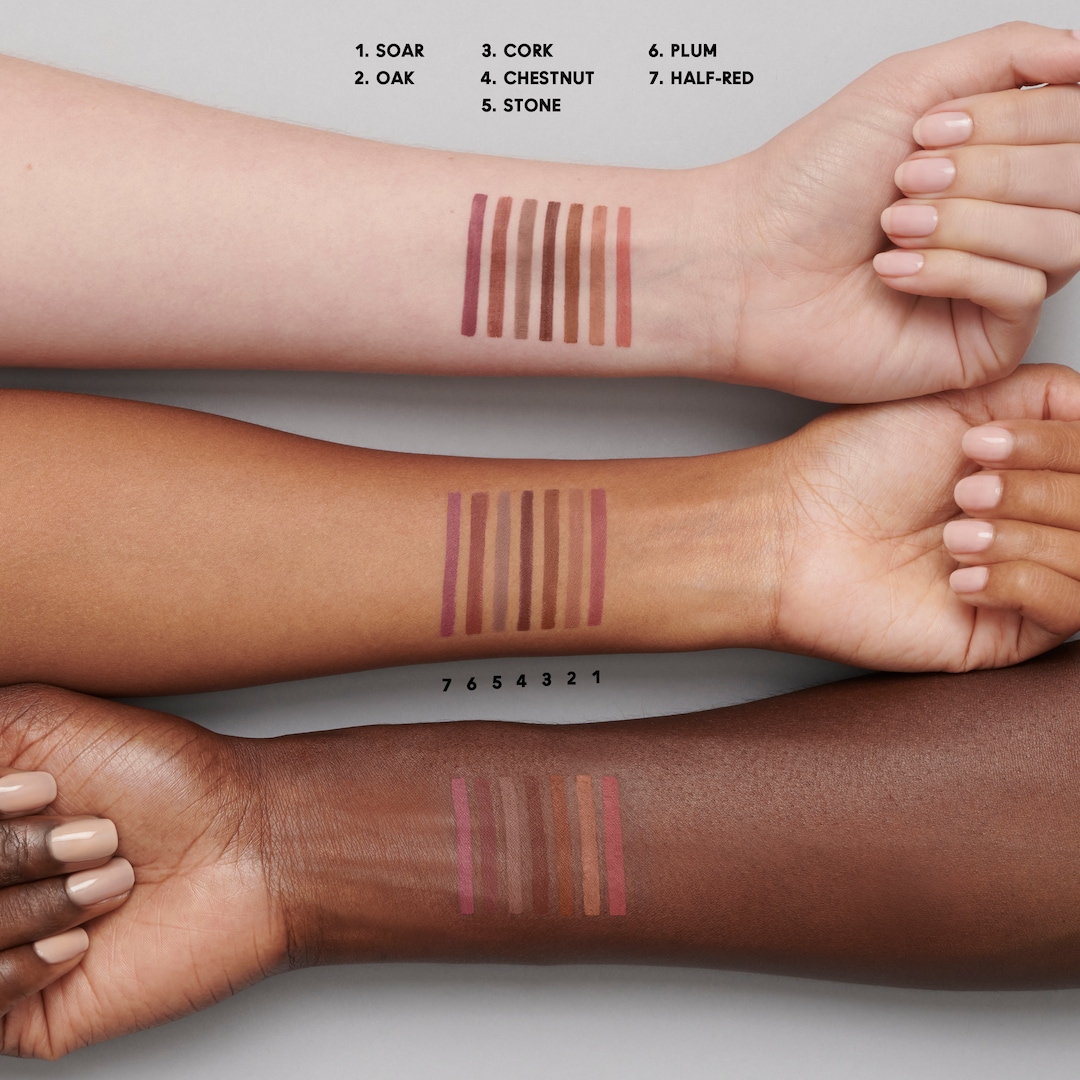
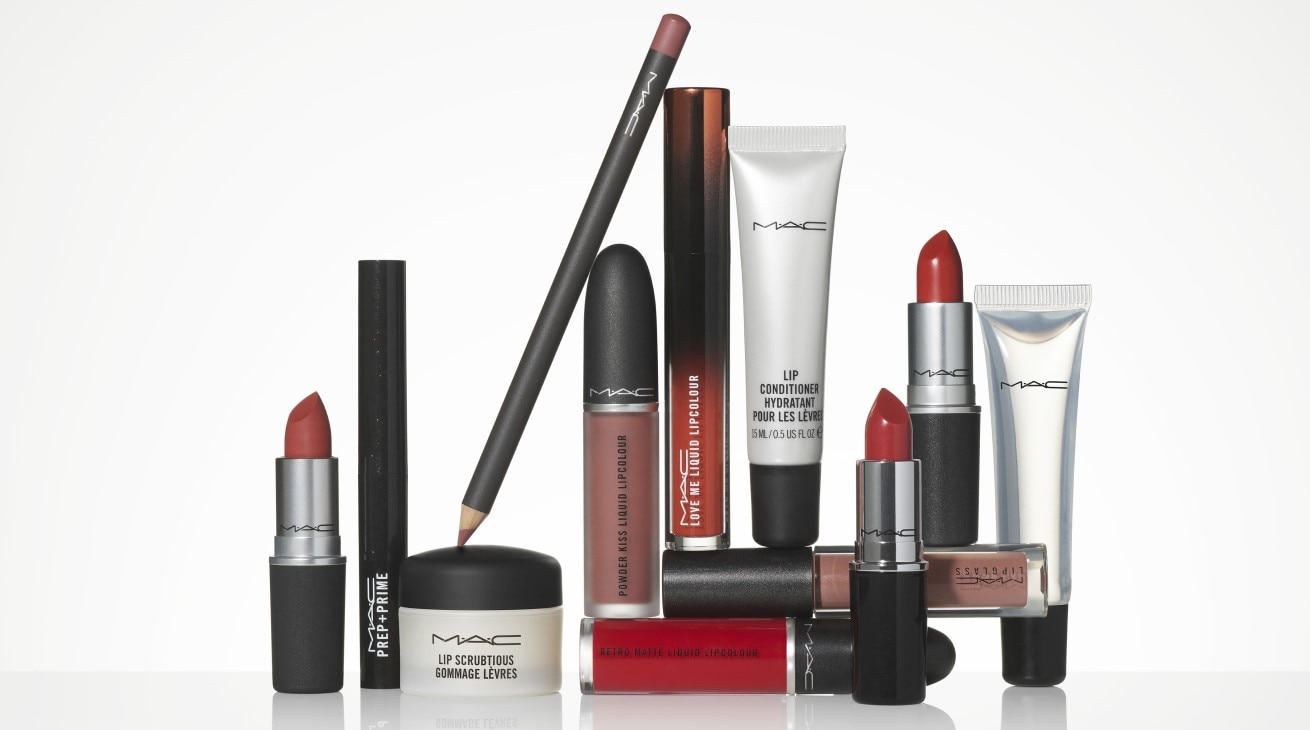
My secret to creating the perfect brown ombre lip starts with preparing the lips with PREP + PRIME Lip, this is a hydrating, colour-free lip primer that adds light moisture, smoothes and prevents feathering of additional lip products. The next step would be finding a brown lip pencil to best compliment your skin tone. For fair to light skin I would recommend shades ‘Oak’ or ‘Stripdown’ for medium to deep skin tones I would go for ‘Cork’ and for deep skin tones, ‘Chestnut’ is going to perfect! Using your chosen lip pencil, follow your natural lip line (where the skin below your nose stops and your lip starts) on your top and bottom lip.
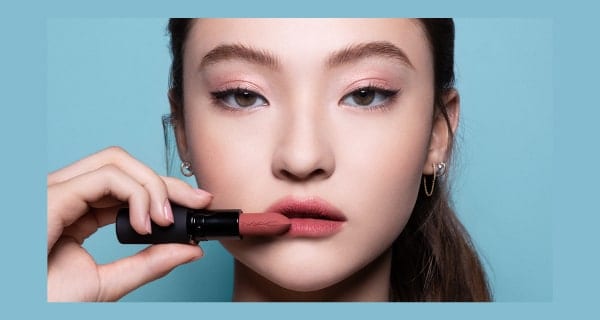
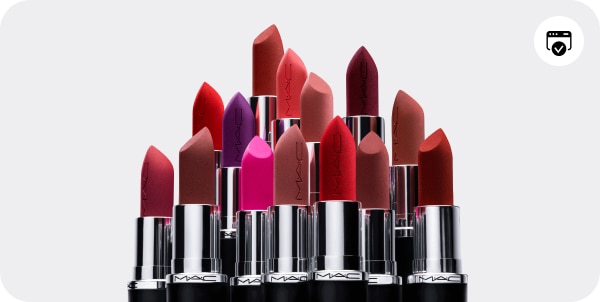
A trick I use to achieve the most crisp and symmetrical line is starting from the corners of the mouth and working in towards the middle. Once the lips are lined, its time to add lipstick. For a brown ombre lip I tend to have the lip liner be the darkest tone is the gradient and therefore select a nude shade lipstick which is lighter. Once selecting a nude tone which compliments your skin tone, apply to the centre, unlined area of the lip. On the lipstick is applied begin pressing the lips together, pressing and releasing for around 20-30 seconds to blend the tones on the lipstick and liner together – avoid rubbing lips side to side as this will blur the shades into one colour and not create an ombre effect. If using a liquid matte lipstick it is important to being blending as soon as the lipstick has been applied. Once blotted you we notice the ombre effect has began to form. Continue blotting if you find certain areas are less blended than others. You an also use your finger to help blend by gently tapping or alternatively a lip brush!
Check out a recent Trend article for step by step content (https://www.maccosmetics.co.uk/mac-trend-makeup-looks/5-lip-looks).
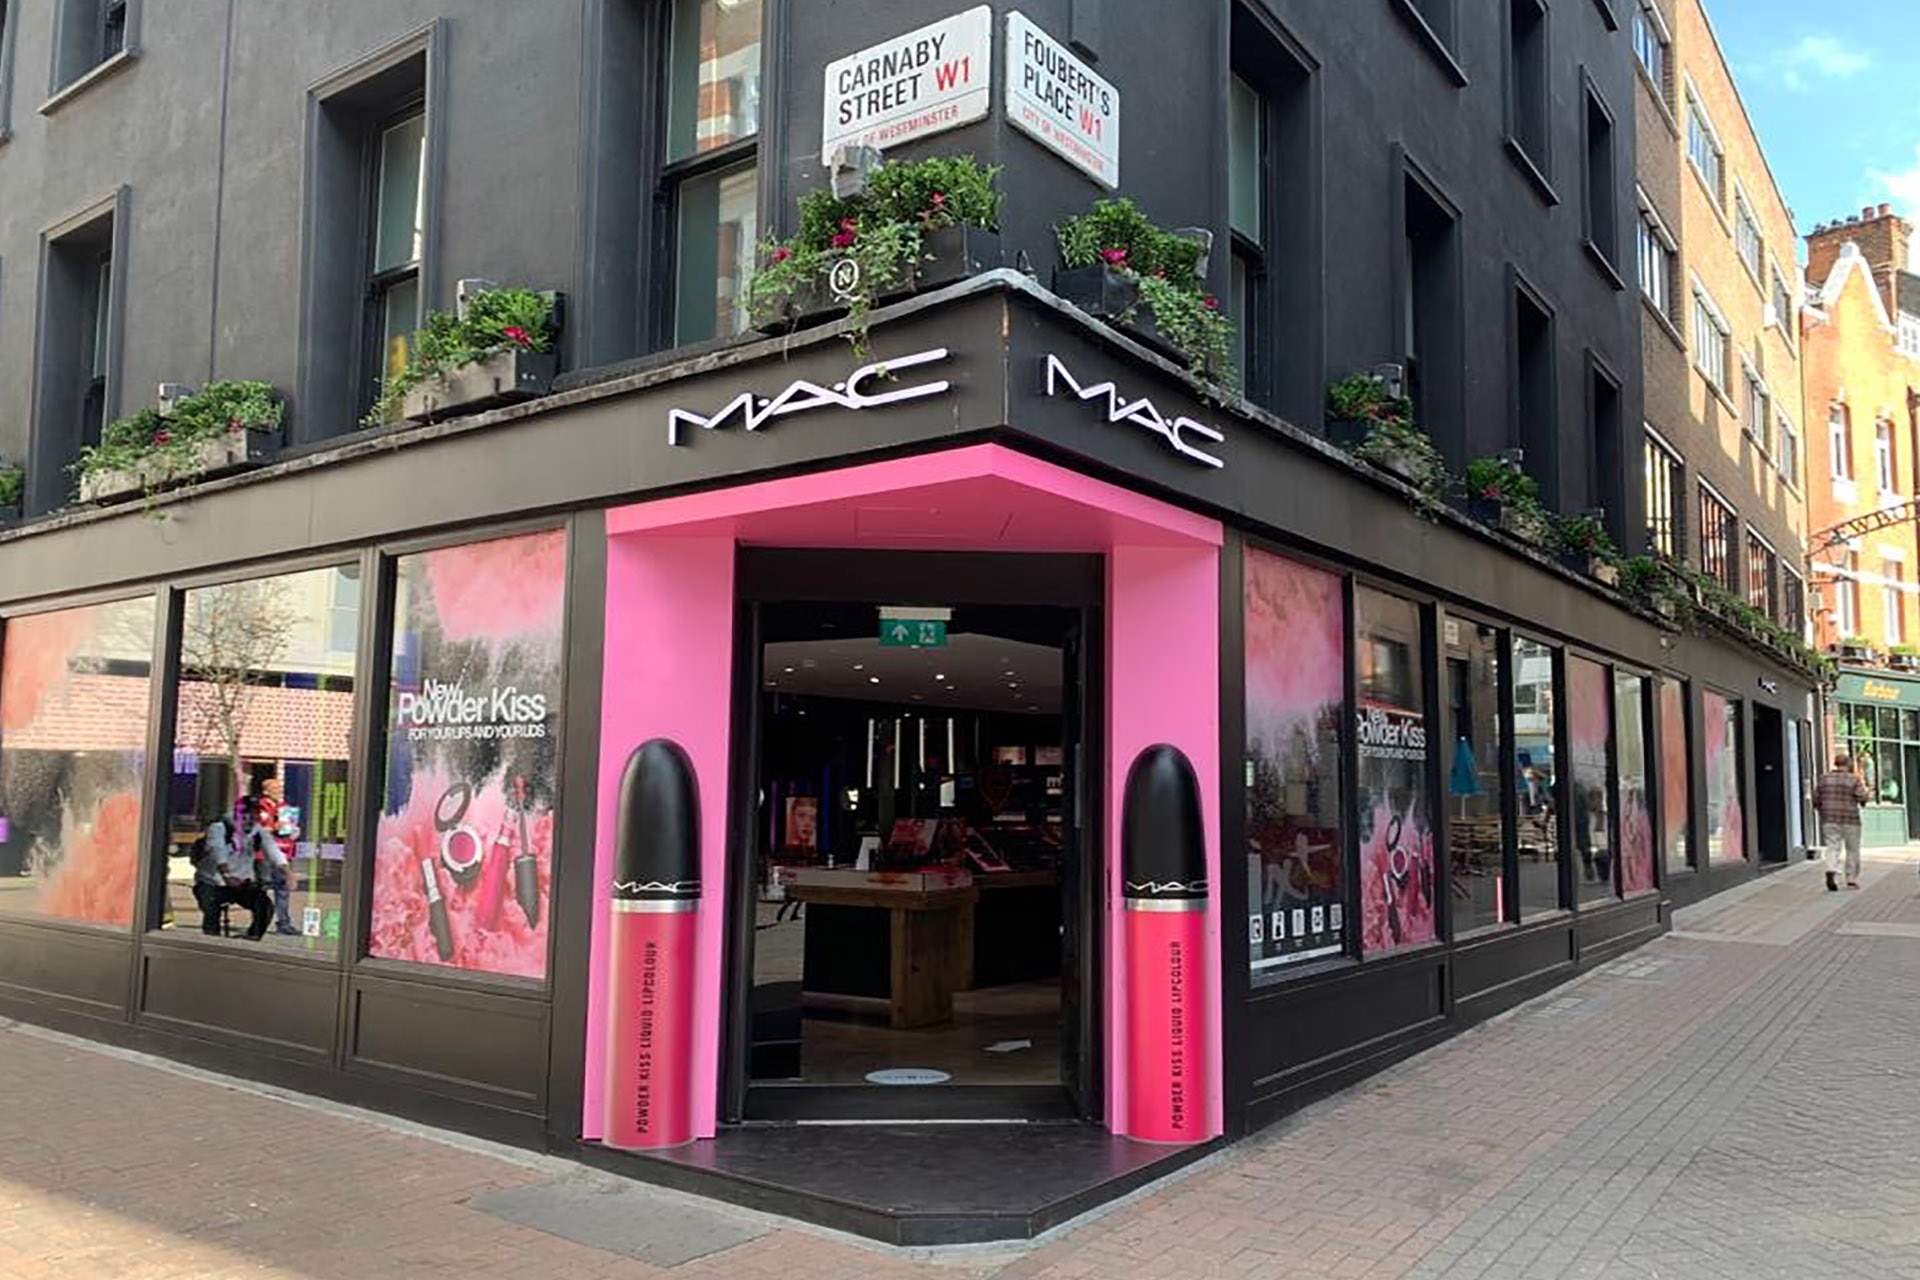
WRITTEN BY A
PRO MAC ARTIST,
IN MAC CARNABY STREET
DISCOVER MORE
BOOK A FREE CONSULTATION
Get expert answers from a MAC Artist that's handpicked by you, either in-store or online.
STORE LOCATOR
Visit us in store to shop your favourite MAC products and chat to our artists.


